My recent acquisition of a GunCon compatible light gun made me crave for Time Crisis 2 and 3. Then I learned that the original GunCon is compatible with the PlayStation 2. Well, my PlayStation 2 is softmodded with a 500GB hard drive so no problem, right? Well, not quite. To install games I typically just pull the HDD, plug it into an IDE-USB adapter and go to town installing games nice and quick. I used to have a very nice IDE-USB adapter, but it died. It seems that the replacements now are very cheaply made because the last one I bought only cost $10 and seems to be the most common model. This died on me in a couple of weeks. I hadn't needed a replacement for anything, so I never replaced it. Now I want to play Time Crisis 2 and I have no options.
But then I remembered that there was an option. Installing games to the HDD over the network, Xbox style. Then I remembered another problem... my Windows XP partition killed itself. I setup a new one but I still haven't bothered to reinstall all of my software and whatnot. And..eh, it wasn't the day for that either. So, let's look at our Mac OS solutions!
Of course, there's hardly any. I tracked down a piece of software called xdumb 0.99 but I couldn't get it to connect for the life of me. Well, fuck me. Will I actually have to do the hard work of reinstalling software and/or spend money to get my Time Crisis fix? If you thought yes, why the hell do you think you're reading this article?
My next course of investigation was the software HDLGameInstaller. This is my chosen software I keep on my HDD to rip games to my HDD. I knew it had network support so I started doing digging there. I found that yes, there is software for your PC to install games over the network to HDLGameInstaller. It actually comes with HDLGameInstaller. It's called HDLGManClient and it runs on your PC. The key word there was PC. That's fine, we'll fix it. We did it before with P.T. on PS4, right?
Here's what we'll need...
- A softmodded PS2 with an HDD
- An ethernet cable to connect your PS2 to your router - You don't need a crossover cable. I hate hearing about those goddamn things. I've never, ever needed one for anything that says I need one.
- HDLGameInstaller (At the time of writing v0.813 was current)
- WineBottler
Before you start doing anything else, make sure that you have an IPCONFIG.DAT file saved on your memory card from uLaunchELF. If you need an explanation of how to do this, please read through this.
First off, since we're connecting to our router instead of a direct connection to the computer, we have to make sure that our settings are correct in our IPCONFIG.DAT file. First, we'll need to set the gateway appropriately for the router. My router is at 192.168.2.1, so this is what I use for my gateway. This isn't too typical, most routers are at 192.168.1.1. Basically, whatever IP address you use to access your routers settings is what you should use as the gateway. Set the IP address as something that'll be out of the way of any other devices on the network. I put it as 192.168.2.20 because there's a lot of shit on my network. Leave the subnet mask alone.
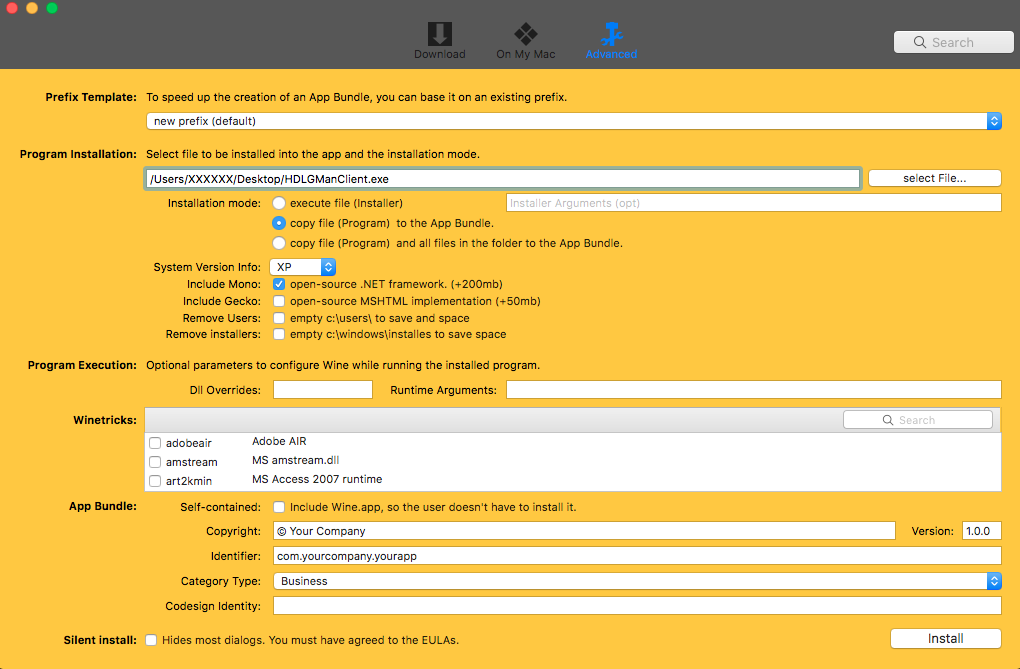
Next, we need to get HDLGmanClient running on OS X. Start up WineBottler and go to the advanced tab. Pick the .exe for HDLGmanClient. For installation mode, select copy file to the app bundle. Uncheck "Include Gecko." This is what my screen looked like:
Let WineBottler do its thing. It'll take a couple of minutes. Once it's done, it'll spit out a nice little OS X style application. At this point we've actually gotten all of the difficult things out of the way. Now we'll actually start the process of installing the games. Go to your PS2 and start up HDLGameInstaller. Press select and you should see the network status screen showing the IP, subnet mask and gateway that we set in our IPCONFIG.DAT file earlier. The link state section should say UP if you've done everything correctly. This is what my screen looked like:
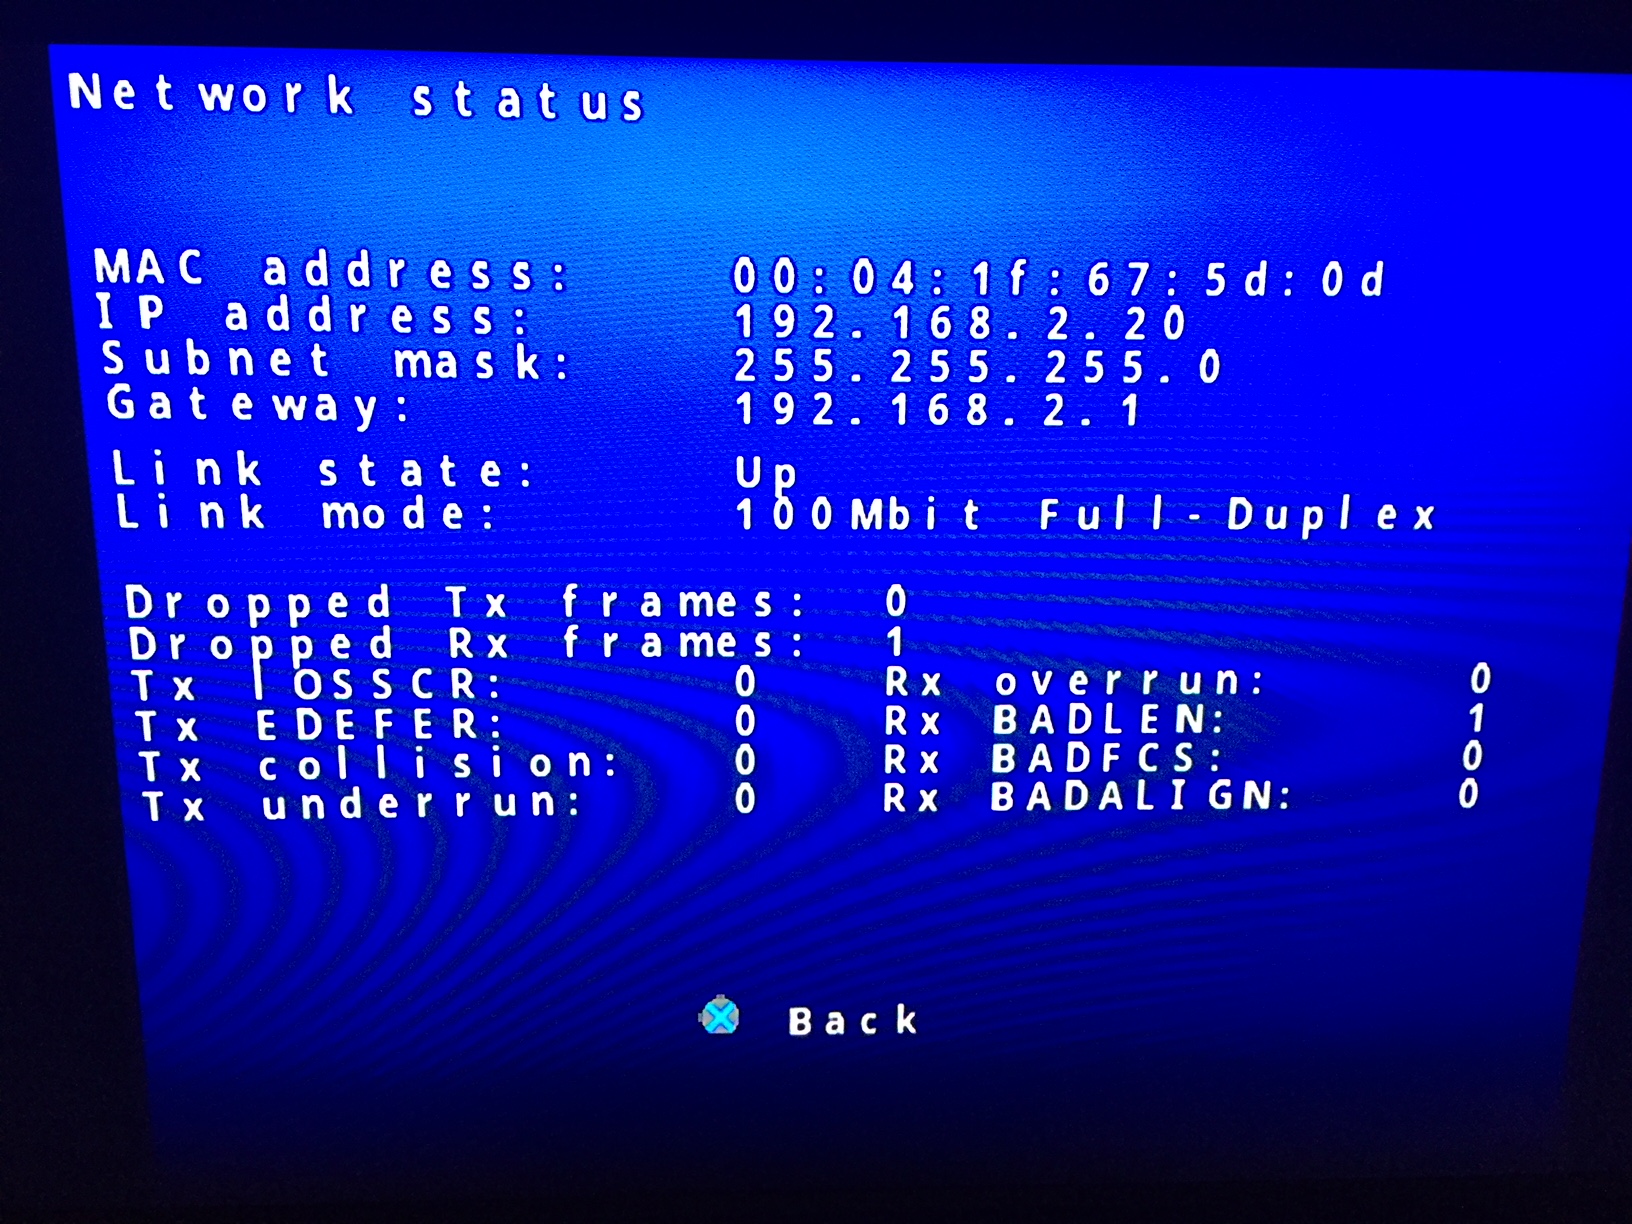
This was taken during a transfer, you shouldn't have any dropped frames or anything yet
Next, we'll start up our WineBottled HDLGManClient. Type in the PS2's IP address and hit connect. If everything is correct, you'll get a list showing everything installed on the drive, like this:

In a shocking move of being self explanatory, click "Install new game" to start adding another game to the HDD. You'll want to use disc image if you're a thief like I am, or you can actually use a disc in your computer's drive. From there, it's actually all really self explanatory. Type in the name of the game and a title for the OSD browser, check any needed options to make the game play smoothly from the HDD and pick if the game is a CD-ROM or DVD based game and hit start. You'll see this beauty:
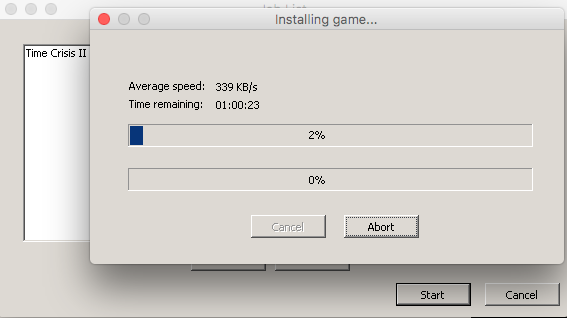
You'll see my speeds are sort of low there. I had a lot of file transfers going on when I took that screenshot. That's not a typical speed. I was hitting around 2000 KB/s without much activity on my network. It's certainly not as fast as USB, but it is functional.
So there you have it. Another "you can't use a Mac for that, install Windows" problem solved. Have fun.
